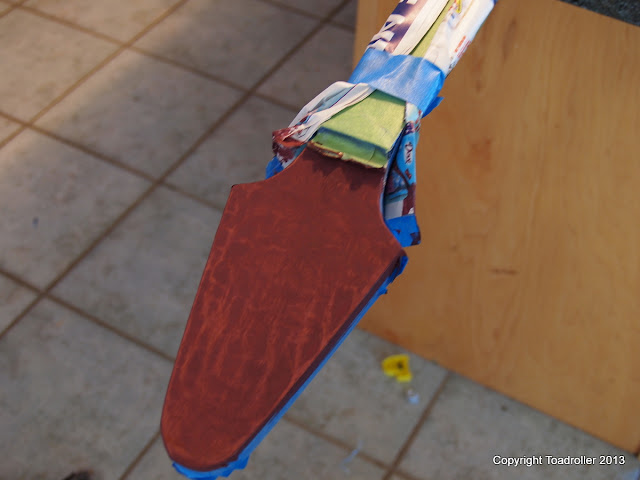
Out came the heat-gun, a putty knife, and cautious use of the orbital sander to clear away a side of veneer which came out wavy and buckled. Crap.
I started again, but this time I put TWO bags of sand on the top to keep it flattened.
Come the morning, this round of veneer had buckled as well.
Inspiration decided to finally come around and pay me a visit, asking, "Why are you using sand bags when you have many, many clamps and plenty of wood with which to press this all together?"
I replied in a shy manner, "Because I'm stupid?"
"Exactly. Now back to your wife's pink heat gun and the putty knife and let's do it right this time."
This weekend, I laid out another sheet of my dwindling supply of sapele veneer and clamped the mother down.
Lots of clamps. And a wee crack at the end. That's life.
I put some small wood filling in minor cracks and openings.
Inspiration piped up to advise me I could have masked around those areas and reduced the amount of sanding I'd had to do. I smacked Inspiration upside the head and asked it if it had any more brilliant insights.
"Just one," it said, "you could have tinted the wood filling, combining the grain-filling and crack filling into one process."
Inspiration then ducked.
I mixed up wood filling with some red and black and magenta paint, and a little water, then scraped it into the grain on the veneer. A few hours later, I sanded the excess off with 220 and a sanding block.
What we have now is a well sanded, grain-filled veneer top on the body and the peg head. It is ready for staining (we're going to attempt a ragged on nuclear orange with a bit of a burst to the edges) and follow up spraying of many coats of glossy poly to seal it all in and make it shiny.
From there, a small matter of drilling out the various holes which lie beneath the veneer, fretting, nut placing, wiring and, um, rocking out.


No comments:
Post a Comment