Sunday, February 26, 2012

And in her eyes two sapphires blue

That quote from Wang Chung's 80s hit Dance Hall Days is the only way I can describe the color of project Hamy V.

It had been a week of drying, and I could no longer smell paint when I sniffed the guitar, so over the weekend we took the plunge and started sanding.

We started off gingerly wet sanding with 2000 grit, afraid to sand through the clear coat and into the paint or beyond.  By the end though, I'd developed enough feel and trust that I was giving it some pretty serious elbow grease with a progression of 1000, 1500, and finally 2000 grit to get it as smooth as I could.  Here are the results:


Basically, I did what you do if you spend a late summer afternoon really giving your car a solid detailing. 

First, we clean the paint with a cutting compound, also referred to as a rubbing compound. This buffing-out cut through the haze left by the sanding and revealed a thrilling depth and sparkle.  Most of the videos I've seen of this step had people using orbital sanders and buffers.  I just did it by hand.  I trust my hands more than a high speed device for my first effort. 
Looking very promising


From there, I used a swirl remover/polish and finished off with some wax.  The results are fantastic! 

The neck is unbelievable- deep, smooth color.  My car is the same color and doesn't look this good.

Coming atcha! Look at the reflection on the body.

I learned quite a bit.  You can sand through.  Any imperfection in the surface before you paint will be there after you paint.  Fillers such as wood fillers, bondo, and grain fillers (sometimes epoxy) take care of this. No I know.  I developed a bit of touch and trust in sanding paint. "Rattle-can" results can be stunning.

I just love the neck on this thing.


We exercised patience, research, and some risks, and boy were we rewarded.  Now it's time to start on the front, which is going to be a quilted top lacewood kind of veneer.  It should look fantastic.

Thursday, February 23, 2012

Like waiting for paint to dry

Because, well, we're waiting for the paint to dry.

Monday, February 20, 2012

Luster

Hamy V update. 

Shot another four very thin coats of color on top of the sanded undercoats, and then about five thin coats of clear. 

There are many theories about how long to wait between the color coat and the clear coat, usually discussed by the obsessive-compulsive-crowd in terms of weeks.  Well, the cans I had recommended waiting thirty minutes.  So I'm sure we blew their minds by waiting forty-five.

Blue.

Shiny.
The sunlight shows the depth of the color.

Available at your local VIP Parts.

For fine-buffing of the clear coat


We'll wait a while (days? weeks?) for the clear-coat to really dry.  One rule of thumb I've read said that it's dry when it no longer smells like paint.  Makes sense to me. 

We'll wet-sand it with the 2000 grit shown above, then use the car-waxing buffer to bring the shine back.  That should remove the orange-peel like effect and leave a very smooth finish.  I hope.

I've got a piece of maple that I painted and clear-coated alongside the guitar.  We'll use it to experiment with the sanding and buffing.

Saturday, February 18, 2012

Oh, and a new guitar day

Slab mahogany body, maple neck with rosewood fretboard.
25" scale cutting the line between Gibson and Fender
Full-bodied yet articulate, snarling P90s
One volume, one tone
Quality hardware
Made in USA
Peavey
Firenza
$102
It needed a clean up

Oops, missing something.  Good thing I have some stock parts in my bins.


Now aint that pretty?  Trans-purple, black P90s, and orange knobs.

"Elf-hat" headstock.  Same concept as the Wolfgang I have.  Straight string pulls, angled, quality Gotoh tuners.

Bridge and tailpiece are embedded in routed slots for a low profile.  Very classy.
Inspected
Cleaned it off
Restrung with 10s
Neck and frets are perfect
Nary a pop or scratch form the pots or switch
Solid, lightweight, balances well.  Very playable sitting and standing
There's something about Peavey and Peavey- through the ValveKing 100 head, pure rawk.

After a week of playing it almost exclusively, I was a bit anxious to pick up one of the Hamers.  Not to worry.  The Hamers (the Daytona, the Special) are entirely different guitars.  But they aren't light years ahead.  That's not an insult to Hamers, by the way, it's one hell of a compliment to Peavey.

This is not the last Peavey I will buy.  They made a version of this model with a humbucker, single, single pickup configuration and a tremelo.  Two other noteworthy Peavey's I'll be watching the usual used sources for:  A Falcon strat-style and a Generation S-3, a Telecaster style with "Nashville" configuraiton single, single, single pickup configuration.

My last two guitar purchases, the Daytona and this Firenza, have totaled $350.  You can't beat that for value.

The finer things

Project Hamy V continues. 

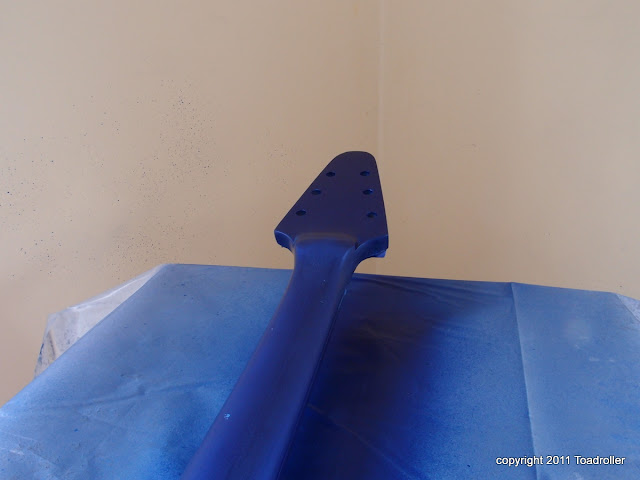
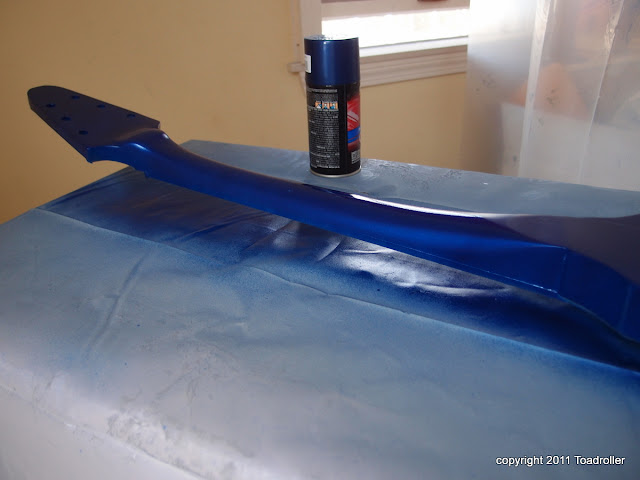
The pearl blue paint has dried over the last few days, and this morning I took some 2000 grit wet-sanding to the splatter on the neck.


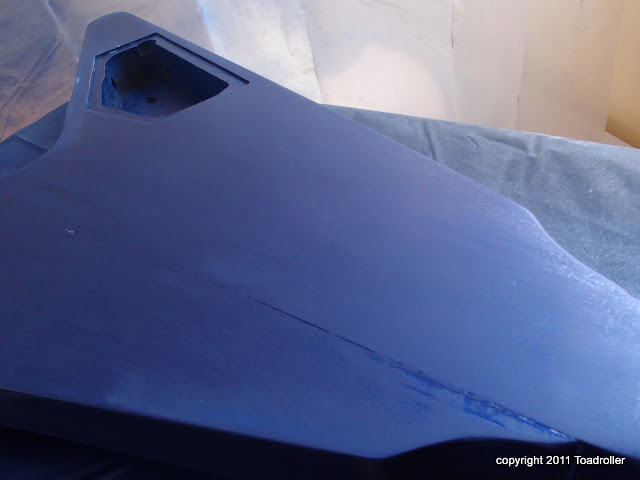
One small test led to another larger test and more confidence.  I ended up wet sanding the whole thing, lightly, with progressive 600 to 1500 to 2000, smoothing out all the rough spots.  You can see the dull areas where the sanding had its greatest effect.  Now the surface is, as my friend Bill Huber used to say, "smooth as a baby's bottom," although Bill was referring to his Olde English 300 quart bottle of beer, which he also claimed to taste "like mother's milk." You and I know Olde English 300 is nothing of the sort.

Next up, we'll spray a few more coats of color to get the sparkle back in the finish, and then cover it all with many layers of clear-coat. I figure all this sanding is good practice for when we ultimately have to sand, buff, and polish the clear-coat for the final product. 

We also have to get the veneer glued to the top and trim it close.  My experiments indicate that process will be a pain much like the morning after a little too much Olde English 300.

Thursday, February 16, 2012

Hamy V Worship?

It was Christmas 2010 that I gave the Hamy V body to Henry and we've chipped (and filed and sanded and planed) away at it in fits and starts ever since.  Sometimes seasons would pass while the guitar sat in the corner of his room or my office.

The time has come to take the risk of painting it. The worst that can happen is it comes out ugly.

So here goes.  Over the weekend, Henry and I did the last routing of the control panel.


Our operating table
 We masked off the top, the neck, and the headstock.  Do you like the flowers?  We could do some decoupage and shellac them.  :)

The top will get veneer instead of paint


We put up a painting booth in the "mold room."


You see strange things in Maine in winter

We then started spraying with gray Dupli-Color sealer/filler/primer from a rattle can.  It's meant for car refinishing and should do nicely for guitars.  We applied a couple of coats, let them dry overnight, then sanded with 200, then 320.  Two more coats, sanded with 200, 320, then 400.

Sadly, we failed to get a picture of the gray beast.

This afternoon we wiped it down with some rubbing alcohol to get all the dust off of it, took it into the booth, and laid down the color coats:


We covered in many coats.  The can spurted a little on the last coat (dang!) so we may have some wet-sanding and more coats to apply.


Now it's like waiting for paint to dry.  I was shocked at the depth and vibrance of the color.  After we repair the spittle on the neck and add a few more coats, we'll give the paint a week or two to really cure, then cover it with four coats of poly, then wet-sand and buff it up to a polish. 

I don't think it's going to be ugly.  Mrs. Toadroller likes it.


Posted by Picasa